> ## Documentation Index
> Fetch the complete documentation index at: https://stackone-hub-docs-confluence-api-token-update.mintlify.site/llms.txt
> Use this file to discover all available pages before exploring further.
# Ansible Tower
> Follow these steps to connect Ansible Tower via the StackOne Hub successfully.
Ensure that your Ansible Tower account has Administrator privileges.
If you've been directed to StackOne to integrate with Ansible Tower, the following steps will help you understand the process and any necessary actions to configure a successful integration.
## Log in to Ansible Tower
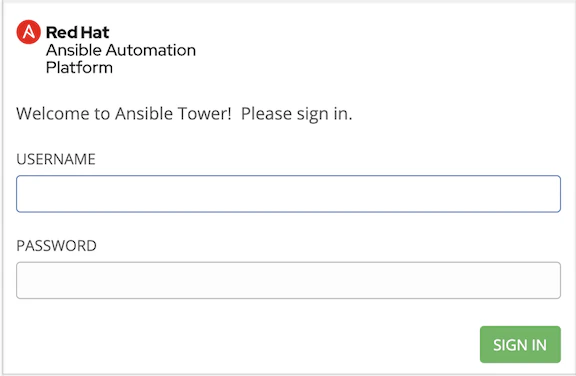
Log in to your Ansible Tower instance, and note your **Ansible Tower URL** to be used in a later step.
(Example: `https://ansible.myapp-exp.com`)
 ## Create a New OAuth Application
This connection will authenticate on behalf of a registered Application in Ansible.
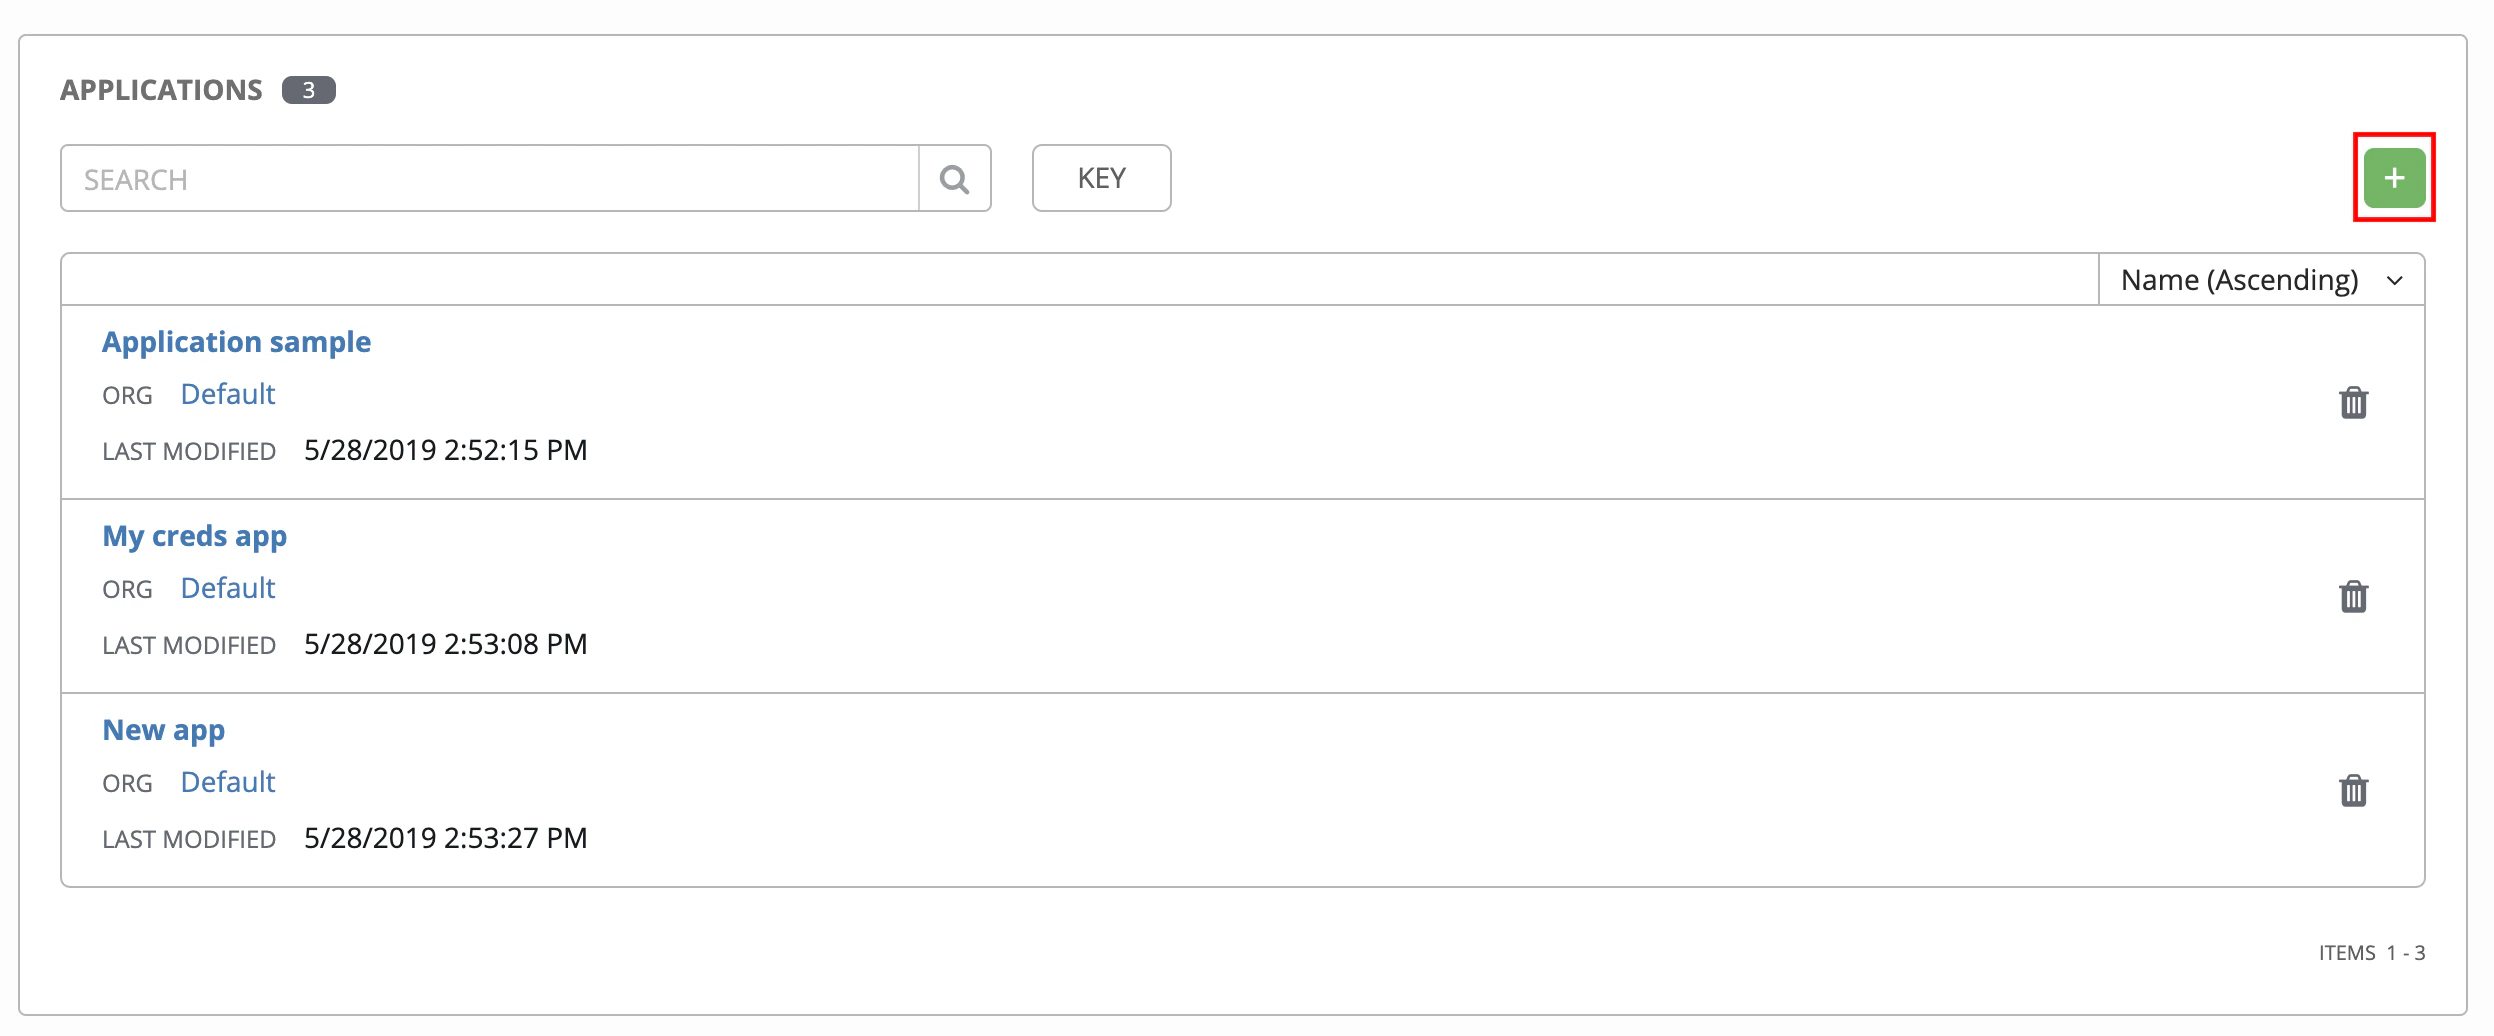
Click **Applications** in the left navigation bar.
Click the **+** button in the top right to begin creating a new application.
## Create a New OAuth Application
This connection will authenticate on behalf of a registered Application in Ansible.
Click **Applications** in the left navigation bar.
Click the **+** button in the top right to begin creating a new application.
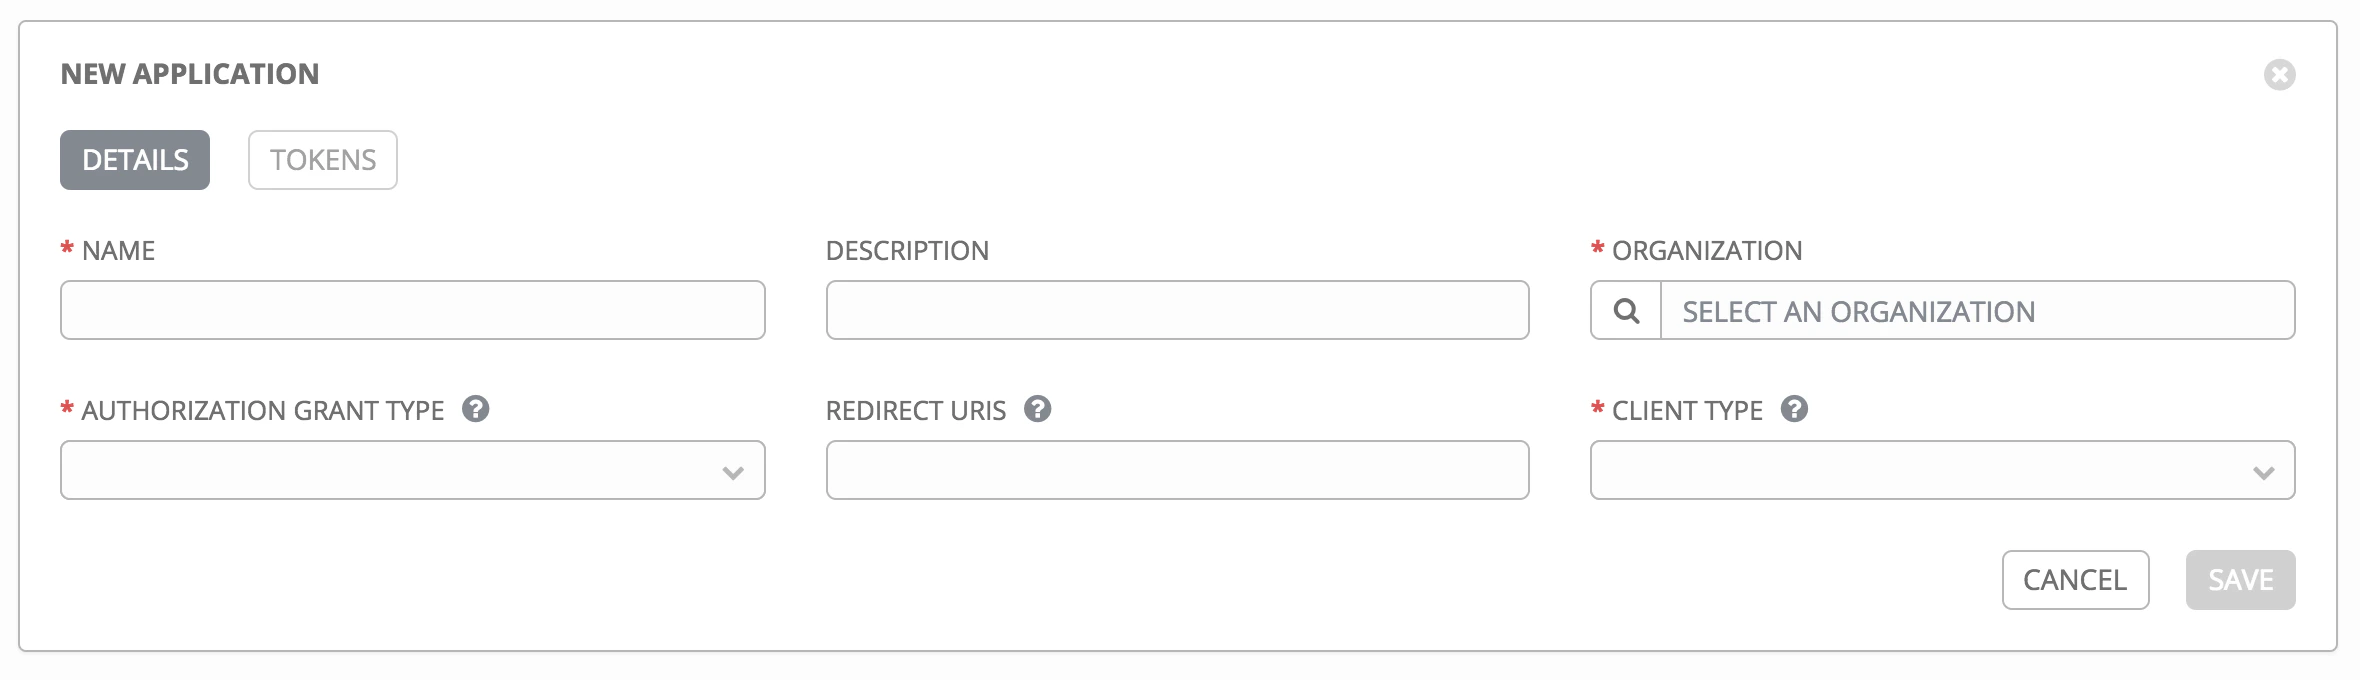
 Enter the following details in the *Create New Application* window:
* Name
* Description (optional)
* Organization: select the organization to be associated with this connection
* Authorization Grant Type: Select *Authorization Code*
* Redirect URIS: Enter `https://api.stackone.com/connect/oauth2/ansibletower_iam/callback`
* Client Type: *Confidential* or *Public* can be selected for this connection
Click the *Save* button to proceed.
Enter the following details in the *Create New Application* window:
* Name
* Description (optional)
* Organization: select the organization to be associated with this connection
* Authorization Grant Type: Select *Authorization Code*
* Redirect URIS: Enter `https://api.stackone.com/connect/oauth2/ansibletower_iam/callback`
* Client Type: *Confidential* or *Public* can be selected for this connection
Click the *Save* button to proceed.
 Your new Application **Client ID** and **Client Secret** will be displayed. Copy these and store them securely to be used in a later step.
## Connecting with StackOne
Upon reaching the Link Account page, enter the credentials from the previous steps:
* Client ID
* Client Secret
* Ansible Tower URL
Proceed by clicking the Connect button.
Depending on your Ansible Tower instance configuration, a window may appear with a prompt to log in to Ansible Tower and authorize this new application.
Log in again and click the **Authorize** button to proceed.
Your new Application **Client ID** and **Client Secret** will be displayed. Copy these and store them securely to be used in a later step.
## Connecting with StackOne
Upon reaching the Link Account page, enter the credentials from the previous steps:
* Client ID
* Client Secret
* Ansible Tower URL
Proceed by clicking the Connect button.
Depending on your Ansible Tower instance configuration, a window may appear with a prompt to log in to Ansible Tower and authorize this new application.
Log in again and click the **Authorize** button to proceed.
Congratulations, you're all set! If you face any issues with the steps mentioned above,
please contact us by emailing [integrations@stackone.com](mailto:integrations@stackone.com). We're always here to assist you!
## Available data
This integration has the following [IAM Resources](https://docs.stackone.com/reference/getting-started-with-your-api) available from the provider: