> ## Documentation Index
> Fetch the complete documentation index at: https://stackone-hub-docs-confluence-api-token-update.mintlify.site/llms.txt
> Use this file to discover all available pages before exploring further.
# Simployer One
> Follow these steps to connect Simployer One via the StackOne Hub successfully.
Ensure you are an Owner in your Simployer One account. You need Owner permissions to generate access tokens.
If you've been directed to StackOne to integrate with Simployer One, the following steps will help you understand the process and any necessary actions to configure a successful integration.
## Generate your Simployer One Access Token
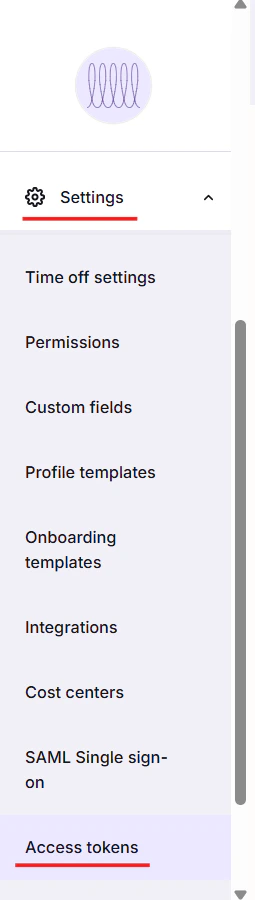
Log in to your Simployer One account and navigate to **Settings > Access tokens** from the side menu.
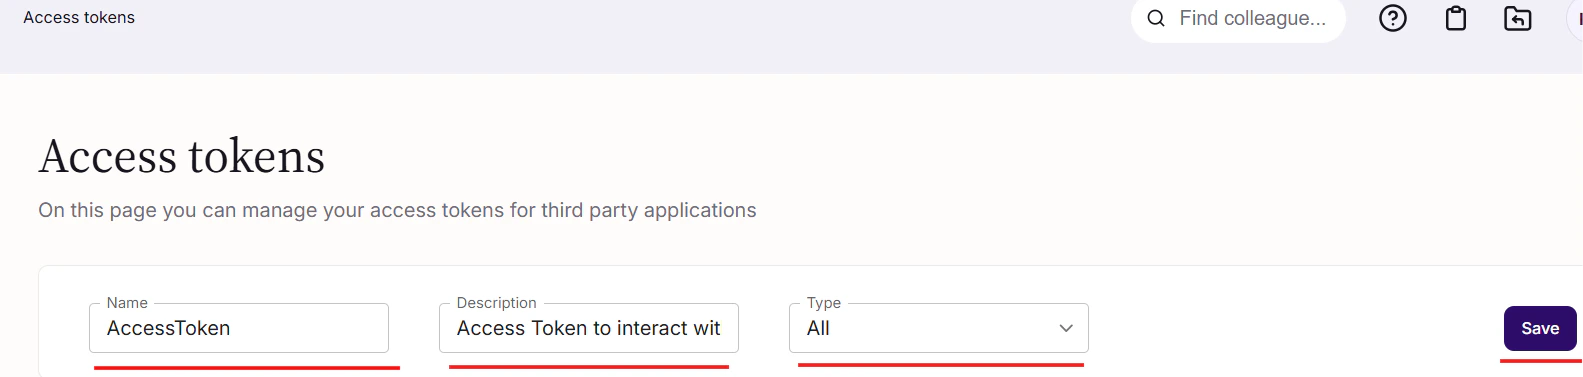
 On the Access Token screen, fill in the following details:
* **Name**: Enter a name for the access token
* **Description**: Enter a description for the access token
* **Type**: Select **ALL** from the Type dropdown
Click **Save** to create the access token.
On the Access Token screen, fill in the following details:
* **Name**: Enter a name for the access token
* **Description**: Enter a description for the access token
* **Type**: Select **ALL** from the Type dropdown
Click **Save** to create the access token.
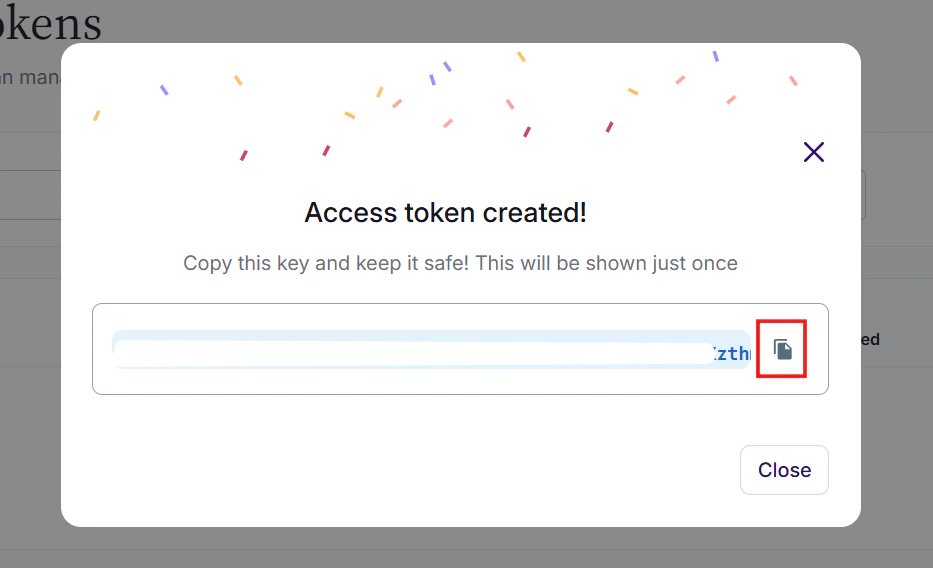
 Copy your displayed **Access Token** to be used in the next step.
**Important:** The token created will only be visible once, so make sure to keep it safe!
Copy your displayed **Access Token** to be used in the next step.
**Important:** The token created will only be visible once, so make sure to keep it safe!
 ## Connecting with StackOne
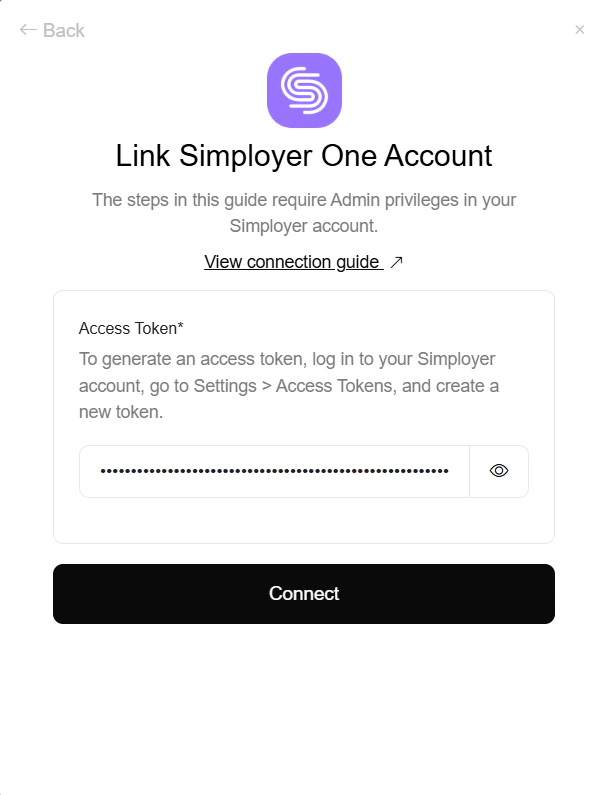
Upon reaching the Link Account page, enter the **Access Token** from the previous step.
Proceed by clicking the Connect button.
## Connecting with StackOne
Upon reaching the Link Account page, enter the **Access Token** from the previous step.
Proceed by clicking the Connect button.
Congratulations, you're all set! If you face any issues with the steps mentioned above,
please contact us by emailing [integrations@stackone.com](mailto:integrations@stackone.com). We're always here to assist you!
## Useful Links
[https://docs.alexishr.com](https://docs.alexishr.com)